


engrol
-
Posts
323 -
Joined
-
Last visited
Everything posted by engrol
-
I will attempt the task and observe the outcome. I will provide you with an update in the near future.
-
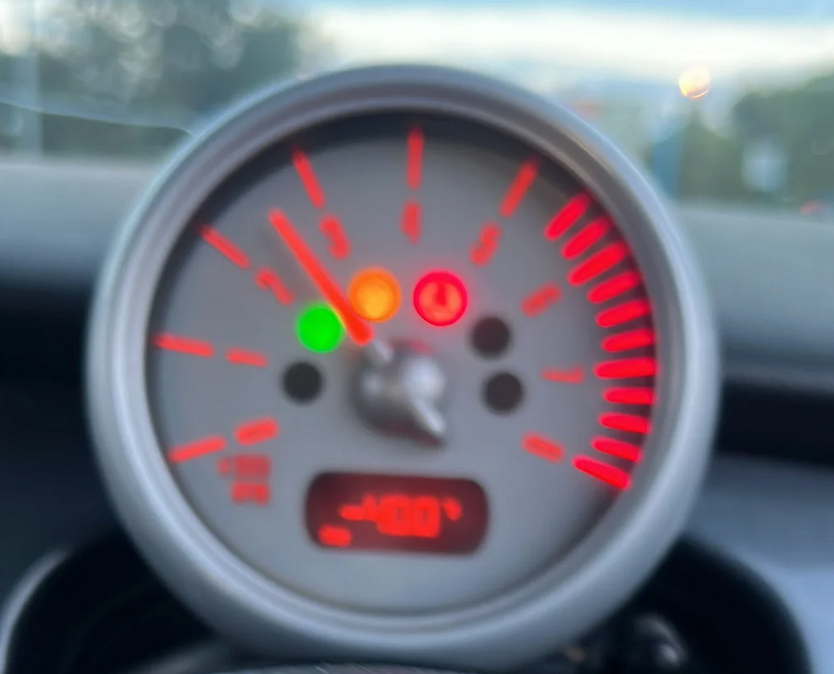
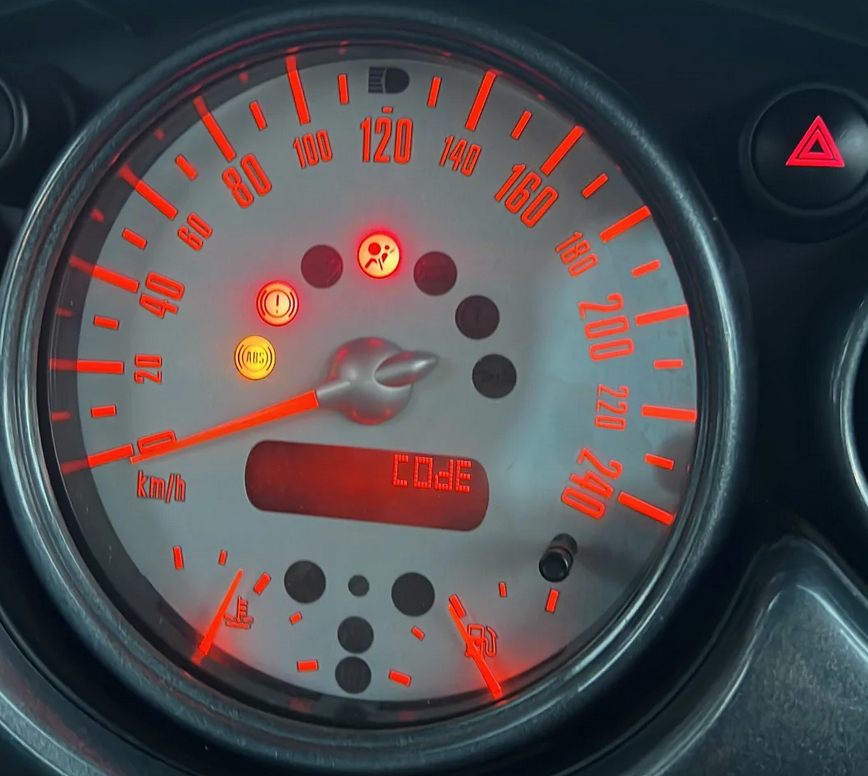
All the lights on my dashboard are illuminated and the central display shows the word 'code'. The vehicle is functioning well, but there seems to be an underlying issue. I attempted to inspect my fuses, but I am unable to ascertain the underlying issue. Assistance is needed for a first-generation R50 vehicle with a manual gearbox. Apologies for the unclear photographs

-
I often saw it, but I dislike the lack of control.
-
Sitting down is the simplest option. In 10 days, I will be travelling to Madeira. I am concerned about getting tan lines on my arms. My wife believes that my goatee is already large enough, since she is not a fan of long beards and bald heads.
-
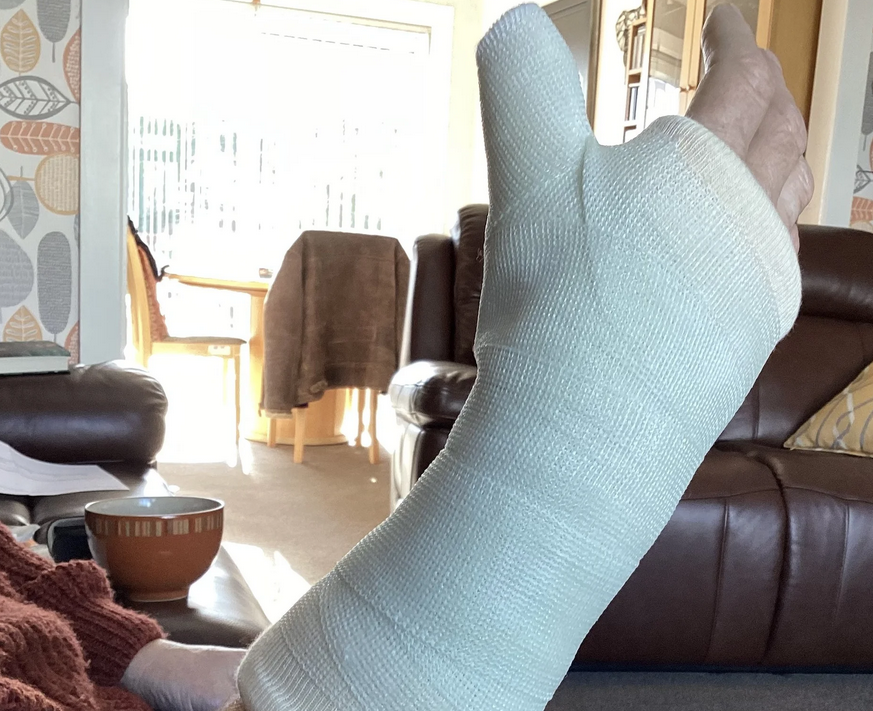
On Sunday night, I had a little accident when I tripped and fell. Although I was sober, the swelling and bruising on my hand concerned my wife, so she took me to the hospital on Monday morning. I have fractured my right thumb in two locations where it connects to the hand. It has been immobilised with a plaster cast until next Monday, when it will be examined to see whether surgery is necessary to secure the bones with wires. Alternatively, I may have to wear a splint for another 7 weeks or more. The wife is now responsible for driving, while she is not too pleased about it, it is necessary. My thumb is now positioned at a problematic angle, limiting its functionality. Shaving with my non-dominant hand has been a novel experience, but fortunately, I have managed to avoid any accidents and still have both of my ears and my nose intact.
-
Thank you, R8-Stuff, for the original equipment manufacturer Recaro seats.
engrol replied to Radiantecon's topic in General
Great! Obtaining OEM products is challenging. We sell aftermarket RECARO seats for vehicles. -
Thank you for that, pardon my lack of knowledge. In the past, I would have just used a hot glue gun.
-
Sorry if this is a foolish question but did you simply glue a random piece of metal to the back of your phone? Realised that the metal is on the case, not the phone.
-
Regrettably, my Moto g8+ has a plastic back.
-
Thank you. I assume another bracket is needed to securely hold the phone
-
After extensive searches for a solution, I have found no answer. I am looking for an alternative to the common techniques of mounting on the windscreen and air vent. Instead of converting the audio system to android just for navigation purposes, I have opted to simply utilise my phone. I prefer not to have anything on the dashboard since it limits my field of vision more than I am used to. Any recommendations or suggestions?
-
Google to find firms that provide chrome plating services for plastic. They typically apply a conductive primer followed by a traditional chrome plating process. Chrome spray lacks durability and is not as resilient. https://www.vacuum-metalizing.com/plastic-chrome-plating/
-
These automobiles are replete with surprises. Today, I was unable to start my automobile due to the notice "refer to handbook. smart key deactivated." I was able to lock and unlock my vehicle with the fob, but I couldn't start it. Researching on Google was beneficial. Lock the vehicle with the key fob, unlock it using the mobile app, and there you have it. You may now proceed to restart the automobile. Simple-minded. The explanation seems to be my action of remotely locking the vehicle using the app last night. I would be unable to resolve this problem without using Google.
-
Yes, that was my experience before the roads were covered with a mixture of ice, snow, mud, and salt. Now it's more like "kick forcefully and hope your shinbone doesn't fracture."
-
It was quite effective for me over the summer. Almost every move I made had a 99% success rate in opening and closing the trunk. Pleasant. But as winter arrived, it became a big nuisance. I can only successfully open the trunk of the same automobile 5% to 10% of the time. Each time I identify a correct angle and indicate it, it doesn't function the following day and requires a different angle. I stopped trying since it causes my pants to become soiled when I had to attempt to open the trunk 15 times. I mostly use the remote or trunk button now. I hope everything will return to normal in the summers. The automobile seems to be impacted by a combination of salt, filth, ice, and snow residue, even after being thoroughly cleaned.
-
After watching all three episodes consecutively, I was unsurprised by the administrative shortcomings at NASA, which brought to mind the other inept organisations I had unfortunately worked for.
-
Wow, it is rather costly. 😪😪😪😪😪😪😪😪 Hastings has just reduced my annual premium from £90 to £180 for a 335i. However, it is worth noting that I am 54 years old.
-
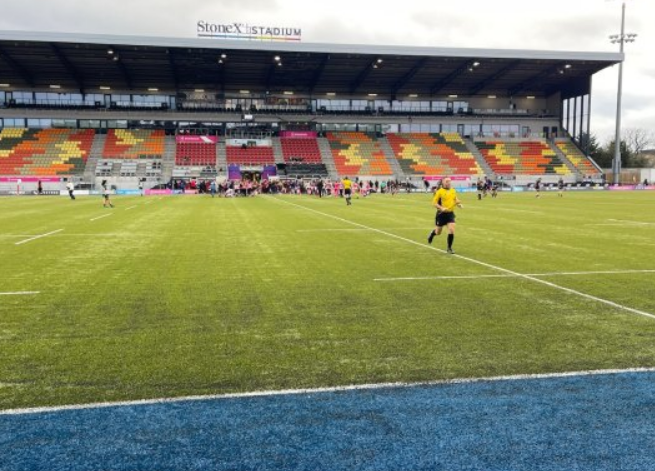
Currently seeing that particular event at Mill Hill Rugby Club. Conveniently, it is situated between the Saracens stadium and our residence.
-
The performance of this audience surpassed that of England, making the game far more enjoyable.
-
What on earth!?
-
Greetings, have you discovered the resolution?
-
Calculate the cost of springs by using Autodoc's base pricing.
-
My in-laws have seen a discernible change in the performance of their 2018 Hyundai Tucson after transitioning to the e10 gasoline. The economy has had a significant decline of around 10 miles per gallon, and in terms of performance, it has difficulties. It seems like it is on the verge of experiencing misfires.
-
The component number is 84 10 2447 710. I used Bimmerlink to eradicate the code. (160) SOS Call Malfunction Fix! (Detailed Guide)BMW 340i F30 - YouTube
-
Have you previously tried using tar and adhesive removers or white spirit? Indeed, the subsequent step would include using a clay bar, followed by an additional polishing procedure.